




This article will show the exact steps for setting up phpMyAdmin on Windows and IIS 6.0.
phpMyAdmin is a web-based tool for managing MySQL database servers. I would go so far as to say it is indispensable. The latest version as of this writing is 3.1.3.

Type
You’ll want to replace
phpMyAdmin is a web-based tool for managing MySQL database servers. I would go so far as to say it is indispensable. The latest version as of this writing is 3.1.3.
Dependencies
Note that this application requires that the following PHP extensions have been installed:- MySQL
- GD
- MBString
php.ini file in the PHP installation directory (e.g. C:\Program Files\PHP) and make sure that the following lines are uncommented:extension=php_mysql.dllextension=php_gd2.dllextension=php_mbstring.dll
Download phpMyAdmin
- Download the appropriate package (english.zip for me)
- Extract the files.
- Find the lowest directory containing all the files (
phpMyAdmin-3.1.3-englishfor me) and copy that to a directory likeC:\Inetpub\wwwroot. - Rename the resulting directory as
phpMyAdmin, so the resulting path will beC:\Inetpub\wwwroot\phpMyAdmin.
Configure as an Application in IIS
It is usually preferable to run applications in their own application pool so they don’t affect other applications and so you can manage them independently.- Launch the Internet Information Services (IIS) Manager.
- Right-click on Application Pools and select New –> Application Pool. Type
phpMyAdminas the name of the application pool and click OK.
- Click on the Web Sites node in the navigation pane and double-click on Default Web Site.
- Right-click on phpMyAdmin in the right pane and select Properties. Click the Create button next to Application name. Set the application pool to the previously-created phpMyAdmin application pool. Click OK and then click OK on the phpMyAdmin Properties dialog box.


Configuring phpMyAdmin
phpMyAdmin stores its settings in a file calledconfig.inc.php. To create the file, we will start with a sample configuration file provided with the phpMyAdmin download.- Open the file
config.sample.inc.phpinC:\Inetpub\wwwroot\phpMyAdmin. - Find the line that says
$cfg['blowfish_secret']. You must put something between the empty single quotes in order for phpMyAdmin to work. You can put anything here. I’ll put inDPotter.net.phpMyAdmin01.
- Find the lines that say
$cfg['Servers'][$i]['controluser']and$cfg['Servers'][$i]['controlpass']and uncomment them (remove the leading//). Change the password. These are used for accessing advanced features in phpMyAdmin. For this demo I’ll set it the password todpotter.net. Note that it is a good idea to change the username for security purposes sincepmais the default username.
- Find the section
Advanced phpMyAdmin featuresand uncomment all the lines under it.
- Save this file as config.inc.php.


Testing
At this point phpMyAdmin is ready to use. Let’s test it out by navigating tohttp://localhost/phpmyadmin.
Type
root for the username and type the password you specified when installing MySQL. Then click the Go button. At this point you are good to go. You can create databases, update tables, delete rows, inspect data, etc.Creating the phpMyAdmin SQL Account
Now is the time to create the user you specified in step #3 above for thecontroluser setting (defaults to pma). Once you’ve logged in to phpMyAdmin, click on the SQL tab and type or paste the following text:CREATE USER 'pma'@'localhost' IDENTIFIED BY 'your_password';You’ll want to replace
your_password with the password you selected in step #3 above, and if you changed the username, replace pma with what you specified. Then click the Go button. Once you’ve done this, the error message at the bottom of the page will go away.



 Create a new content type called "Photo".
 Then, find your way to its "Manage fields" page.
 Under "New field", fill in the appropriate values to create a new field called "Photo". For "Type", select "File"; for "Element", select "Image". Click "Save" to continue.
 On the following page, you can fine-tune the required characteristics of uploaded images; for instance, you can set minimum/maximum resolutions, filename extensions, and so on.
 Under "Path settings", enter "photos" to help keep your uploaded files organized.
 Under "ALT text settings", you can set up rules governing the text that will be displayed if your uploaded image cannot be viewed. This is extremely important for accessibility compliance; at minimum, you should check the "Enable custom alternate text" box, and also enter a sensible default for "Default ALT text": for example, "Photo contributed by [user-name]."
 Under "Global settings", check the "Required" box to make sure that every Photo node has an uploaded photo.
 Click "Save field settings" to continue.
 In the menu at the top of the screen, choose "Content management > Taxonomy".
 Click "Add vocabulary"; vocabularies in Drupal taxonomy are simply collections of related words describing a particular content facet.
 Under "Vocabulary name", enter "Galleries".
 Under "Content types", check "Photo".
 Under "Settings", check "Required"; this will force every photo to be placed into a gallery when it is created.
 Click "Save".
 Click "list terms" next to Galleries in the list of vocabularies.
 Click "Add term".
 Enter the name of your gallery in the "Term name" field.
 In the menu at the top of the screen, choose "Site building > ImageCache".
 Click "Add new preset".
 Under "Preset namespace", enter "thumbnail"; then, click "Create New Preset".
 Under "Actions", click "Add Scale and Crop".
 Enter "120" for both "Width" and "Height"; then, click "Add Action".
 Under "Preset namespace", enter "preview"; then, click "Create New Preset".
 In this case we only need scaling, not cropping; so click "Add Scale".
 Under "Width", enter "400".
 Empty out the "Height" field; we want ImageCache to generate the image's height automatically so that the image's aspect ratio remains consistent.
 Click "Add Action".
 Now that the appropriate image manipulation presets are set up, we need to tell Drupal to use them as appropriate in our Photo content type. In the menu at the top of the screen, choose "Content management > Content types > Edit Photo > Display fields".
 Under "Teaser", choose "thumbnail image linked to node". This will cause Drupal to use the thumbnail preset whenever your image node is displayed in the shortened "teaser" mode.
 Under "Full node", choose "preview image linked to image". This will cause Drupal to display the preview image when your image node is viewed by itself, and allow the user to click to see the full, unmodified image.
 In the menu at the top of the screen, choose "Content management > Create content > Photo".
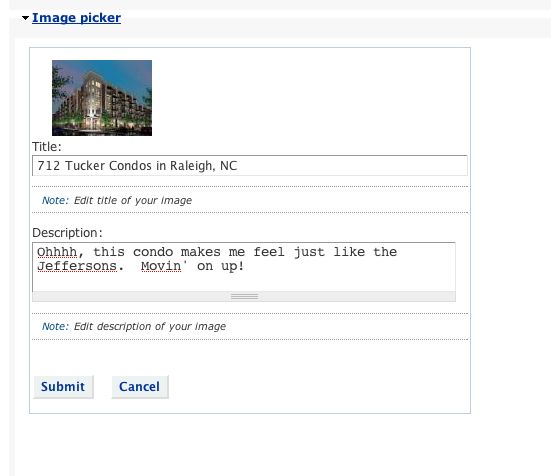
 Fill out the form as usual, providing a title and (optionally) a description.
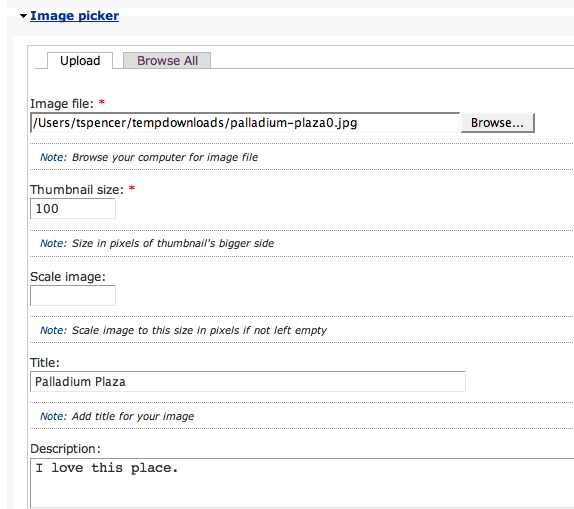
 You should also see your image upload field somewhere in the form; if you didn't change the order of the fields in your content type, it should show up just below the body field. Upload your image by browsing to it on your computer and clicking the "Upload" button.
 Click "Save" to submit your new photo node.
 In the menu at the top of the screen, choose "Site building > Views > Add".
 Under "View name", enter "gallery".
 Under "View description", enter "Gallery".
 Under "View type", choose "Node".
 Click "Next".
 Click the "+" sign in the "Filters" block.
 In the form that appears just below the main interface, check "Node: Type"; then, click "Add".
 On the next page, make sure that "Operator" is set to "Is one of", and check "Photo" under "Node type"; then, click "Update".
 Click the "+" sign in the "Filters" block.
 In the form that appears just below the main interface, check "Taxonomy: Vocabulary"; then, click "Add".
 Make sure that "Operator" is set to "Is one of", and check "Galleries" under "Options"; then, click "Update".
 Click the "+" sign in the "Filters" block once more.
 In the form that appears just below the main interface, check "Node: Published"; then, click "Add".
 Choose "Yes"; then, click "Update".
 Click the "+" sign in the "Arguments" block.
 In the form that appears just below the main interface, check "Taxonomy: Term"; then, click "Add".
 On the next page, enter "%1" for "Title"; this will cause Drupal to use the name of the gallery as the title of the view.
 Under "Action to take if argument is not present", check "Summary, sorted ascending".
 Under "Validator", choose "Taxonomy term".
 Under "Vocabularies", choose "Galleries".
 Under "Argument type", choose "Term name or synonym".
 Click "Update" to finish creating your argument. You may need to click "Update" several more times to accept the default settings for the View summary.
 Click the "+" sign in the "Fields" block. (nb: if there is nothing to click, make sure that 'Row Style' is set to 'Field' in the Basic Settings section)
 In the form that appears just below the main interface, check "Content: Photo (field_photo)".
 On the next page, check "Link this field to its node".
 Under "Label", select "None".
 Under "Format", choose "thumbnail image linked to node".
 Click "Update" to finish creating your field.
 In the "Basic settings" block, click the "Unformatted" link next to "Style".
 In the form that appears just below the main interface, choose "Grid"; then, click "Update".
 In the leftmost column of the Views interface, select "Page" and click "Add display".
 In the "Page settings" block, click the "None" link next to "Path".
 In the form that appears just below the main interface, enter the URL path where your galleries should live; for example, "galleries". Click "Update" to finish setting up your path.
 In the "Page settings" block, click the "No menu" link next to "Menu".
 In the form that appears just below the main interface, you can set up a menu item for this view. Check "Normal entry" and enter "Galleries" in the "Title" field; configure the remaining fields just as you would any other Drupal menu item.


