
- The GridView control is associated with the DataSource control through its DataSourceID property.
- In ASP.NET 2.0 there are several DataSource controls that are designed to work with different data sources.
- Enabling Editing and Deleting records in the GridView Control is as simple as setting the properties “AutoGenerateDeleteButton” and “AutoGenerateEditButton” as "True"
- GridView totally supports 6 field types, they are:
1. BoundField,
2. CheckBoxField,
3. ButtonField,
4. CommandField,
5. HyperlinkField,
6. ImageField and
7. TemplateField
Creating a GridView control on a Page
1. Create a Web site
2. Open the Default.aspx page in design view and drag a GridView control onto it.

3. Switch over to the Source view and examine the code. The following code will be displayed.
Click here to view sample code
4. For fetching records from a data source we need to add a SqlDataSource Control to the website. Click on the arrow and select

5. Click Ok. The Configuration Data Source wizard appears.
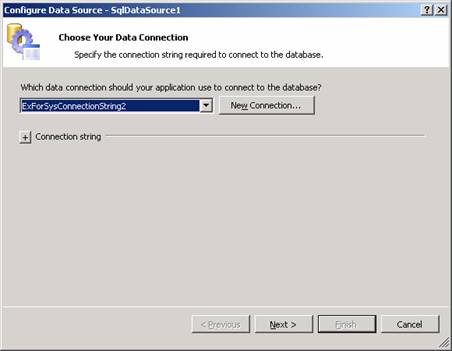
6. Click on New connection or select the connection for the application from the drop down list.
7. Next specify the columns that are to be bound to the GridView from the table.
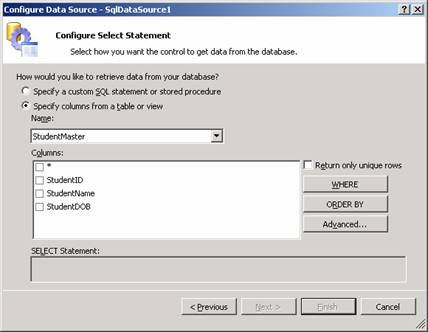
8. Select the columns we need to bind to the GridView control and check Return only Unique rows if required. For the purpose of this exercise let us select StudentId and StudentName alone and click Next. The Test Query Screen appears. Click the test Query button to test the impact of the query we generated in the Select statement of the previous screen.

9. Now click on Finish and note that the Columns have been bound to the GridView control.
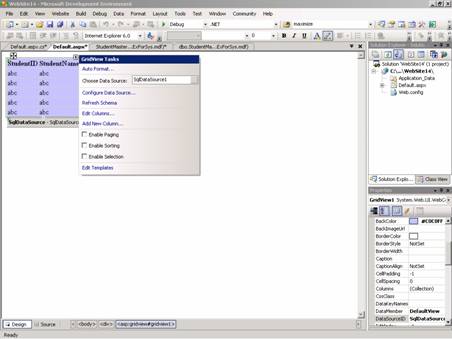
10. Check the paging, sorting and Delete Selection options if these functionalities are required. We will be dealing with this in greater detail a little later in this tutorial.
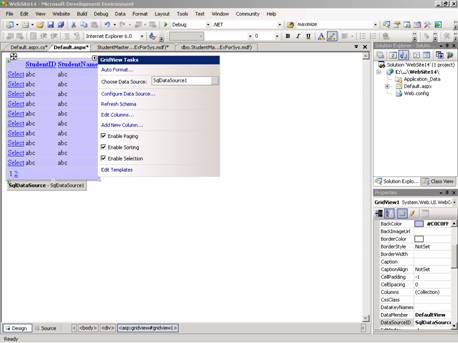
11. Now look at the code and see the impact on the source code.
Click here to view sample code
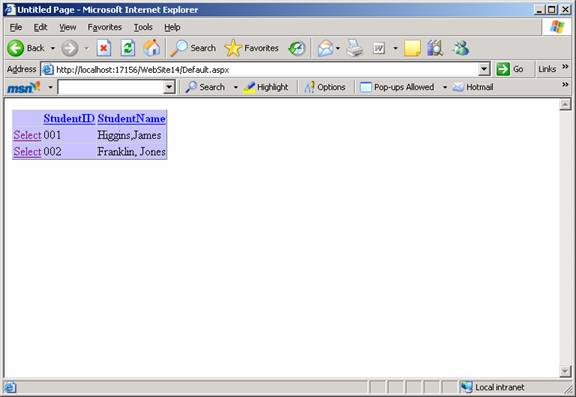
12. Now press F5 to execute the Gridview control page.


0 comments:
Post a Comment